# LangGraph & Web Components quickstart

> This quickstart shows how to use NextGenUI agent with LangGraph and Web Components.

- Skill: `tools-only/langgraph-and-web-components-quickstart` (Agent Skill, multi-file: 3 files)
- Install (CLI): `npx skillmds@latest add tools-only/langgraph-and-web-components-quickstart`
- Raw SKILL.md: https://api.skillmd.com/api/skills/tools-only/langgraph-and-web-components-quickstart/raw
- Safety review: pending (external: skill-scanner PASS, skillspector PASS)
- Works with: Claude Code, Claude.ai, OpenAI Codex
- Category: Coding & Dev Tools
- Author: tools-only (https://skillmd.com/u/tools-only)
- Updated: 2026-09-29
- Page: https://skillmd.com/skills/tools-only/langgraph-and-web-components-quickstart

---

# LangGraph & Web Components quickstart

This quickstart shows how to use NextGenUI agent with LangGraph and Web Components.

Example code provides you all steps to have fully working a Movies LangGraph assistant extended by NextGen UI Agent.

Full working example is stored in [libs/next_gen_ui_langgraph/readme_example.py](https://github.com/RedHat-UX/next-gen-ui-agent/blob/main/libs/next_gen_ui_langgraph/readme_example.py).


## Prerequisites

Before you start this quickstart, ensure you have have installed [Python 3.12](https://www.python.org/downloads/) or higher:

```sh
python --version
# Python 3.13.0
```

For LLM configure [Open API Key](https://platform.openai.com/api-keys) stored in env. variable `OPENAI_API_KEY` or 
install [Ollama provider](https://ollama.com/download) locally.

```sh
echo $OPENAI_API_KEY
# sk-proj-....
# or local Ollama
ollama -v
# ollama version is 0.9.6
```

## 1. Install dependencies
Install NextGen UI agent packages `next-gen-ui-agent`, `next-gen-ui-langgraph` and NextGenUI web component rendering `next_gen_ui_rhds_renderer`:

```sh
pip install -U next-gen-ui-agent next-gen-ui-langgraph next_gen_ui_rhds_renderer
```

!!! note
    It's common to create a virtual environment first in your project.
    ```sh
    python3 -m venv .venv && source .venv/bin/activate
    ```

## 2. Configure LLM chat model

Configure LangGraph chat model.

```py
import os
from langchain_openai import ChatOpenAI

if not os.environ.get("OPENAI_API_KEY"):
    # getpass.getpass("Enter your OpenAI API key: ")
    os.environ["OPENAI_API_KEY"] = "ollama"

# OpenAPI
llm = ChatOpenAI(model="gpt-4o", temperature=0)

# or local ollama
llm = ChatOpenAI(model="llama3.2", base_url="http://localhost:11434/v1")
```

## 3. Create your agent

The easiest way how to create an agent in LangGraph is to use prebuilt `create_react_agent` function.

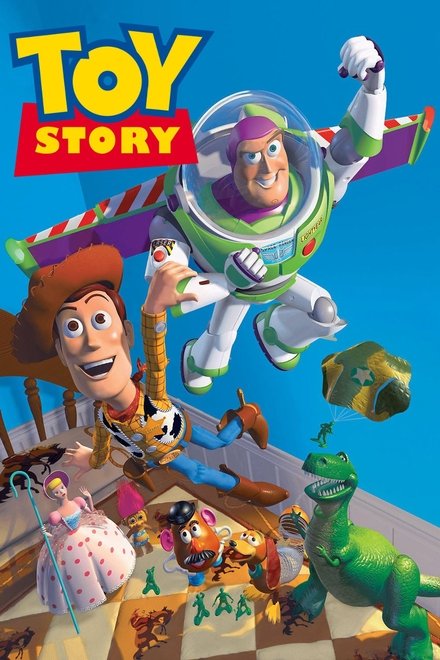
Following example is a movie assistant with hard-coded data about Toy Story movie.

```py
import json
from langgraph.prebuilt import create_react_agent

# Mocked backend data
movie_toy_story = [
    {
        "movie": {
            "languages": ["English"],
            "year": 1995,
            "imdbId": "0114709",
            "runtime": 81,
            "imdbRating": 8.3,
            "movieId": "1",
            "countries": ["USA"],
            "imdbVotes": 591836,
            "title": "Toy Story",
            "url": "https://themoviedb.org/movie/862",
            "revenue": 373554033,
            "tmdbId": "862",
            "plot": "A cowboy doll is profoundly threatened and jealous when a new spaceman figure supplants him as top toy in a boy's room.",
            "posterUrl": "https://image.tmdb.org/t/p/w440_and_h660_face/uXDfjJbdP4ijW5hWSBrPrlKpxab.jpg",
            "released": "2022-11-02",
            "trailerUrl": "https://www.youtube.com/watch?v=v-PjgYDrg70",
            "budget": 30000000,
            "actors": ["Jim Varney", "Tim Allen", "Tom Hanks", "Don Rickles"],
        },
    }
]

# Search movie tool
def search_movie(title: str):
    """Call to find movie.
    Args:
    title: Movie title e.g. 'Toy Story'
    """
    if "toy story" in title.lower():
        print(f"Returning JSON payload of '{title}' movie")
        return json.dumps(movie_toy_story, default=str)
    return None


movies_agent = create_react_agent(
    model=llm,
    tools=[search_movie],
    prompt="You are useful movies assistant to answer user questions",
)
```

## 4. Create NextGenUI Agent

For easy integration use prebuilt NextGenUI LangGraph agent `NextGenUILangGraphAgent` which returns standard LangGraph agent.

```py
from next_gen_ui_langgraph import NextGenUILangGraphAgent

ngui_agent = NextGenUILangGraphAgent(model=llm).build_graph()
```

## 5. Configure Rendering

Consider which rendering you prefer. To use web components you can use prebuilt Red Hat Design System (rhds) web component rendering shipped
in `next_gen_ui_rhds_renderer` package.

```py
# NextGenUI config - Standard LangGraph agent configuration
component_system = "rhds"
ngui_cfg = {"configurable": {"component_system": component_system}}
```

## 6. Run agents

Run movies agent to get data and text summarization:

```py
prompt = "Play Toy Story movie trailer"
movies_response = movies_agent.invoke(
    {"messages": [{"role": "user", "content": prompt}]}
)
# Print text reponse:
print("\n\n===Movies Text Answer===\n", movies_response["messages"][-1].content)
```

Run NextGen UI Agent to get web component

```py
import asyncio

ngui_response = asyncio.run(
    # Run Next Gen UI Agent. Pass movies agent response directly.
    ngui_agent.ainvoke(movies_response, ngui_cfg),
)
print(f"\n\n===Next Gen UI {component_system} Rendition===\n", ngui_response["renditions"][0].content)
```

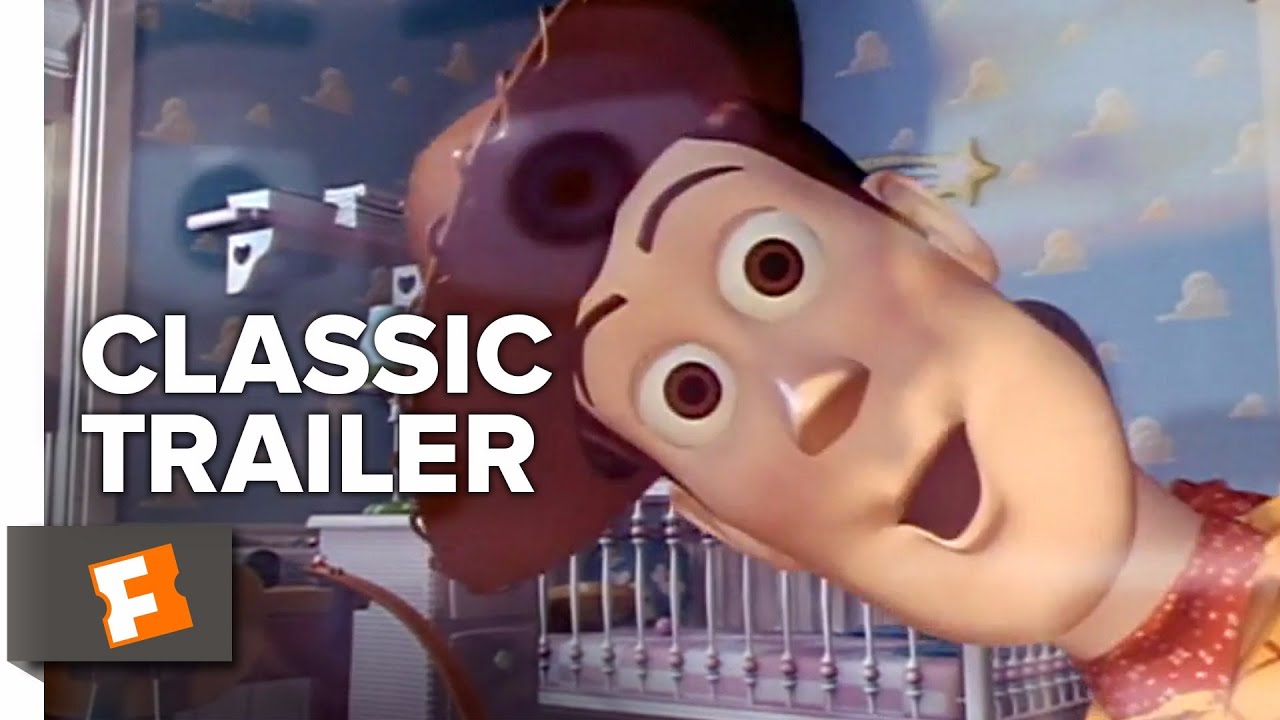
Running this assistant with user's questions `Play Toy Story movie trailer` generates following output of movies agent:

```html
===Movies Text Answer===
 Here's the answer to the original user question:

[Intro music plays]

Narrator (in a deep, dramatic voice): "In a world where toys come to life..."

[Scene: Andy's room, toys are scattered all over the floor. Woody, a pull-string cowboy toy, is centered on a shelf.]

Narrator: "One toy stands tall."

[Scene: Close-up of Woody's face]
```

and Next Gen UI web component rendering:

```html
===Next Gen UI rhds Rendition===
<rh-video-embed class="ngui-video-player">
  <img slot="thumbnail" src="https://img.youtube.com/vi/v-PjgYDrg70/maxresdefault.jpg" alt="Toy Story Movie Trailer"/>
  <template>
    <iframe title="Toy Story Movie Trailer" width="900" height="499" src="https://www.youtube.com/embed/v-PjgYDrg70" frameborder="0" allow="accelerometer; autoplay; clipboard-write; encrypted-media; gyroscope; picture-in-picture; web-share" referrerpolicy="strict-origin-when-cross-origin" allowfullscreen></iframe>
  </template>
  <p slot="caption">Toy Story Movie Trailer</p>
</rh-video-embed>

<script type="module">
  import '@rhds/elements/rh-video-embed/rh-video-embed.js';
</script>

<style>
  .ngui-video-player {
    &::part(caption) {
      font-family: var(--rh-font-family-heading);
      text-align: center;
    }
</style>
```

## 7. Render web component

Take the rendition of NextGenUI Agent in you web app. To successfully render rhds web component you need to install RHDS itself.
Follow [installation guide](https://ux.redhat.com/get-started/developers/installation/).

This is inline component rendering. Try to play trailer, full-screen mode, resize window etc.

<script type="importmap">
{
    "imports": {
        "@rhds/elements/": "https://cdn.jsdelivr.net/npm/@rhds/elements@2.1.1/elements/",
        "@rhds/icons/": "https://cdn.jsdelivr.net/npm/@rhds/icons@1.1.2/"
    },
    "scopes": {
        "https://cdn.jsdelivr.net/": {
            "@floating-ui/core": "https://cdn.jsdelivr.net/npm/@floating-ui/core@1.6.8/dist/floating-ui.core.mjs",
            "@floating-ui/dom": "https://cdn.jsdelivr.net/npm/@floating-ui/dom@1.6.12/dist/floating-ui.dom.mjs",
            "@floating-ui/utils": "https://cdn.jsdelivr.net/npm/@floating-ui/utils@0.2.8/dist/floating-ui.utils.mjs",
            "@floating-ui/utils/dom": "https://cdn.jsdelivr.net/npm/@floating-ui/utils@0.2.8/dist/floating-ui.utils.dom.mjs",
            "@lit/context": "https://cdn.jsdelivr.net/npm/@lit/context@1.1.3/index.js",
            "@lit/reactive-element": "https://cdn.jsdelivr.net/npm/@lit/reactive-element@2.0.4/reactive-element.js",
            "@lit/reactive-element/decorators/": "https://cdn.jsdelivr.net/npm/@lit/reactive-element@2.0.4/decorators/",
            "@patternfly/pfe-core": "https://cdn.jsdelivr.net/npm/@patternfly/pfe-core@4.0.4/core.js",
            "@patternfly/pfe-core/": "https://cdn.jsdelivr.net/npm/@patternfly/pfe-core@4.0.4/",
            "@patternfly/pfe-core/ssr-shims.js": "https://cdn.jsdelivr.net/npm/@patternfly/pfe-core@4.0.4/core.js",
            "@rhds/elements/lib/": "https://cdn.jsdelivr.net/npm/@rhds/elements@2.1.1/lib/",
            "@rhds/elements/": "https://cdn.jsdelivr.net/npm/@rhds/elements@2.1.1/elements/",
            "@rhds/icons/ui/": "https://cdn.jsdelivr.net/npm/@rhds/icons@1.1.2/ui/",
            "@rhds/tokens/css/": "https://cdn.jsdelivr.net/npm/@rhds/tokens@2.1.1/css/",
            "@rhds/tokens/media.js": "https://cdn.jsdelivr.net/npm/@rhds/tokens@2.1.1/js/media.js",
            "lit": "https://cdn.jsdelivr.net/npm/lit@3.2.1/index.js",
            "lit-element/lit-element.js": "https://cdn.jsdelivr.net/npm/lit-element@4.1.1/lit-element.js",
            "lit-html": "https://cdn.jsdelivr.net/npm/lit-html@3.2.1/lit-html.js",
            "lit-html/": "https://cdn.jsdelivr.net/npm/lit-html@3.2.1/",
            "lit/": "https://cdn.jsdelivr.net/npm/lit@3.2.1/",
            "prism-esm": "https://cdn.jsdelivr.net/npm/prism-esm@1.29.0-fix.6/prism.js",
            "prism-esm/components/": "https://cdn.jsdelivr.net/npm/prism-esm@1.29.0-fix.6/components/",
            "tslib": "https://cdn.jsdelivr.net/npm/tslib@2.8.1/tslib.es6.mjs"
        }
    }
}
</script>
<link rel="stylesheet" href="https://cdn.jsdelivr.net/npm/@rhds/tokens@1.1.2/css/global.css">

<div>
<rh-video-embed class="ngui-video-player">
  <img slot="thumbnail" src="https://img.youtube.com/vi/v-PjgYDrg70/maxresdefault.jpg" alt="Toy Story Trailer"/>
  <template>
    <iframe title="Toy Story Trailer" width="900" height="499" src="https://www.youtube.com/embed/v-PjgYDrg70" frameborder="0" allow="accelerometer; autoplay; clipboard-write; encrypted-media; gyroscope; picture-in-picture; web-share" referrerpolicy="strict-origin-when-cross-origin" allowfullscreen></iframe>
  </template>
  <p slot="caption">Toy Story Trailer</p>
</rh-video-embed>

<script type="module">
  import '@rhds/elements/rh-video-embed/rh-video-embed.js';
</script>

<style>
  .ngui-video-player {
    &::part(caption) {
      font-family: var(--rh-font-family-heading);
      text-align: center;
    }
</style>
</div>

## 8. Try another prompts

Prompt: `Tell me details about Toy Story, including poster`

This prompt NextGenUI renders as a card with image and facts.
<div>
<rh-card class="ngui-one-card">
  <img src="https://image.tmdb.org/t/p/w440_and_h660_face/uXDfjJbdP4ijW5hWSBrPrlKpxab.jpg" slot="image" aria-label="Toy Story">
  <h2 slot="header">Toy Story</h2>

  <dl>

      <dt>Title</dt>
      <dd>Toy Story</dd>

      <dt>Release Year</dt>
      <dd>2022-11-02</dd>

      <dt>Imdb Rating</dt>
      <dd>8.3</dd>
  </dl>
</rh-card>

<style>
  .ngui-one-card {
    /* Definition list itself */
    & dl {
      display: flex;
      flex-flow: column;
      gap: var(--rh-space-md, 8px);
      margin: 0;
      padding: 0;

      & dt {
        font-weight: var(--rh-font-weight-heading-medium, 500);
      }

      & dd {
        margin: 0;
        padding-block-end: var(--rh-space-md, 8px);
        border-block-end: var(--rh-border-width-sm, 1px) solid var(--rh-color-border-subtle);

        &:last-child {
          padding-block-end: 0;
          border-block-end: none;
        }
      }
    }
    &::part(container) {
      display: grid;
      grid-template-areas: 'image' 'header' 'body' 'footer';
      grid-template-columns: 1fr;
      place-items: start stretch;
      /*gap: var(--rh-space-2xl, 32px);*/
    }
    &::part(image) {
      grid-area: image;
      padding: var(--rh-space-xl, 24px);
    }

    @container (min-width: 576px) {
      &::part(container) {
        grid-template-areas: 'image header' 'image body' 'image footer';
        grid-template-columns: 1fr 2fr;
      }
    }
    @container (min-width: 768px) {
      &::part(image) {
        padding: var(--rh-space-2xl, 32px);
      }
    }
  }
</style>

<script type="module">
  import '@rhds/elements/rh-cta/rh-cta.js';
  import '@rhds/elements/rh-card/rh-card.js';
</script>
</div>